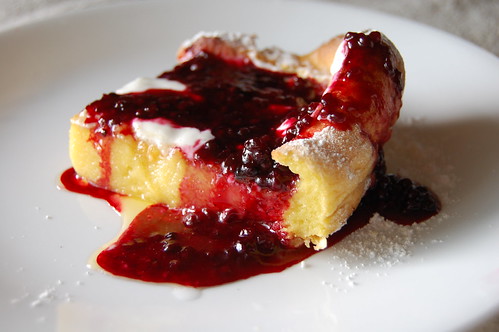
Just wanted to let y'all know that Pear Honey goes wonderfully with cinnamon-ginger pancakes! Yum!

I looked at several recipes online and after checking with my mom (an experienced canner) I didn't follow any of the recipes. Here's what I did...
Peeled and cut up a bunch of slightly overripe pears, tossed them (with the peelings) in a really big pot and barely covered them with water. Brought this to a boil and then covered and simmered until the pears were mushy.
Used a potato masher to break up the pears and simmered for about another 20 mintutes. Strained this thru a cotton cloth [flat cotton diapers (not prefold) are great for this and you can by them cheap at Walmart] and measured the resulting liquid.
For the first batch, I had 10 cups. This went into a stainless steel pot and half that amount of sugar was added. So for 10 cups of juice I added 5 cups of sugar. I also added about 1/8 to 1/4 of a cup of lemon juice (to taste) and a teaspoon of vanilla (again, to taste). Brought this to a boil and simmered on med-low until it was as thick I liked. You can test for this by spooning a little on a saucer and sticking it in the fridge to cool down and then see if it is as thick as you want.
For the second batch I had 8 cups of juice so I added 4 cups of sugar, the lemon and vanilla, and it was cooked in the crockpot, on high, with the top off and an cloth draped over it. It took longer to get thick but I didn't have to stand and stir it toward the end, to keep it from burning.
For both batches, as soon as they were ready and still good and hot (keep them on low while you work) I ladled them into hot sterilized jars, wiped the rim, set the lids (these were kept ready in *very* HOT water) and screwed down the rings. Then I put the jars together on a towel and draped another towel over them so they would cool down slowly. Mom always does this and says it helps them seal better. They all sealed perfectly.
So there you have it. Not quite a recipe, but certainly a method you can follow to make your own Pear Honey. And it is SO worth it. Yum! See for yourself.


Ya' know I've got that Feedjit widget over in the side bar.... well I've noticed that a few of my repeat visitors arrive on the same page every time, a page other than the home page. And then they don't stay long. So I'm thinking some of you may have bookmarked my blog while you were viewing a category or a post. If that's the case, then when you show up it may look like I haven't posted anything new 'cause it's the same thing you were looking at the last time you were here. So if this is happening to you, [I'm posting this in as many catagories as I can so maybe you will see it] just click on the "Home" link in the menu at the top of the page to check for new posts.
I'd also like to invite y'all to look around the sidebar. I've added a link to a page where I will be adding videos and audios about Christianity, Health Issues, How-to, and whatever else strikes my fancy. I don't have much there yet, but I wanted you to be aware of it.
There's also a new gadget from Blogger called Followers. I didn't know what it was all about, but the description basically said it is for people who like like my blog, to let me know they are following it. It also lets folks who read my blog, find the blogs of other folks who read my blog.I figured that was cool so I added it.
Anyway, I want to encourage y'all to look around and take a little more time checking out the blog.
WR
We buy Celtic Sea Salt from The Grain & Salt Society and our latest order arrived yesterday. So I decided that, not only would I show you one of my antique store finds, I'd show you how I "prep" my salt.
First, today's favorite... This is an old general store "5 pounds" jar that I got for $5 at a really great junky little antique store (which I rarely get to shop at, let alone buy at). I love this jar!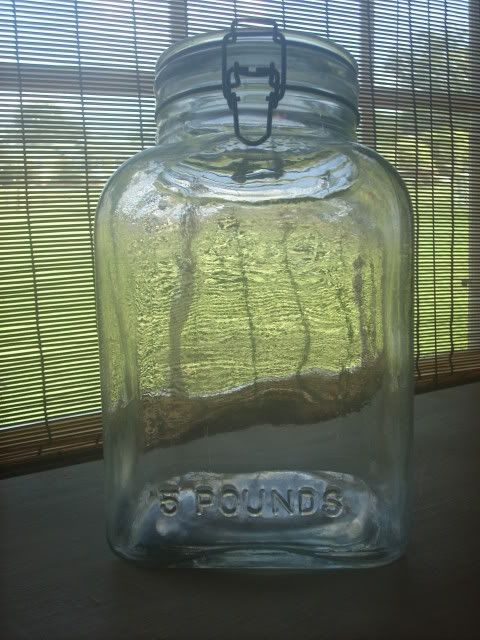
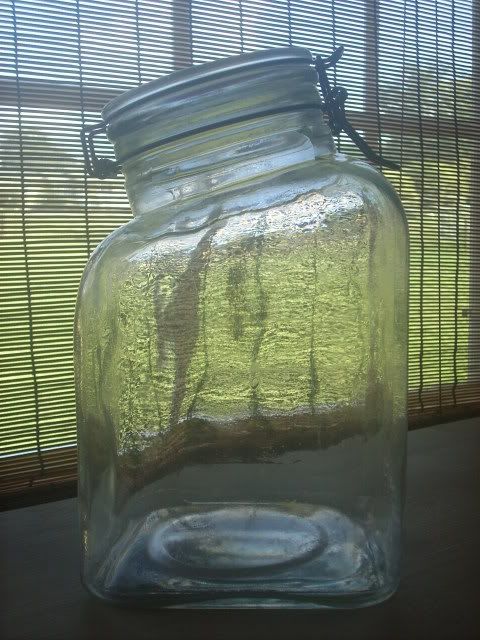
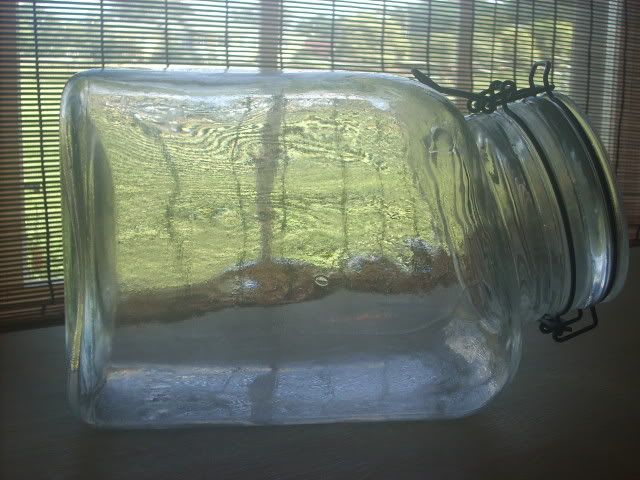
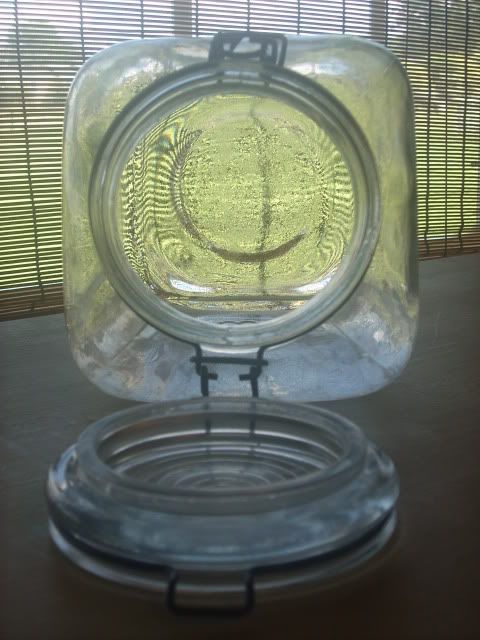
We buy the salt in five pound bags, so this jar has been perfect for storing it.
When the salt arrives, it is still damp. When you put damp salt in a salt grinder it will clump. Not only that, but when you try to grind it will stick to the outside of the grinding mechanism and if you don't get it off it will clump up and dry hard.
So this is what I do... I cut open the bag and spread the salt out on the largest, rimmed, cookie sheet I have. Then I put it a warm oven for a few hours and stir it occasionally. When I think it's sufficiently dry, I take it out and let it come to room temperature.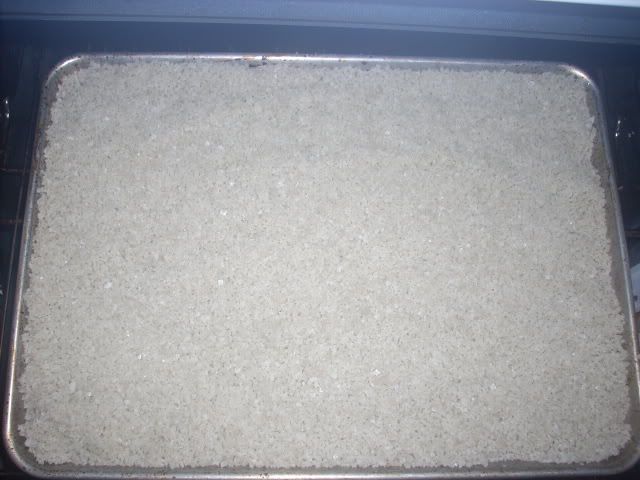
Then I add powdered kelp.
I stir again, scoop it into the jar, and refill the salt grinder.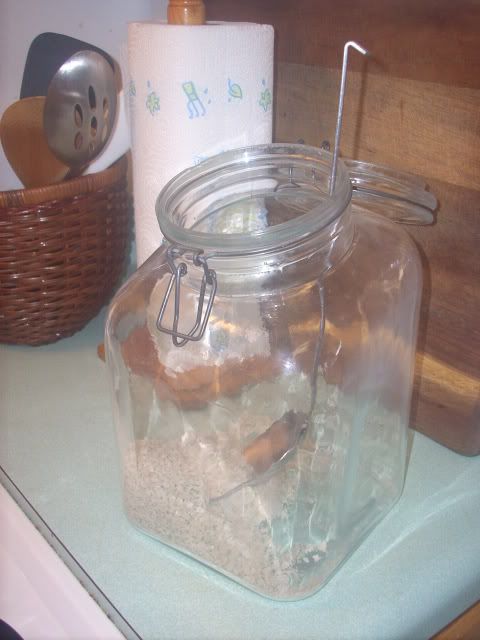
This time, I also put some in a jar for my Mom and Dad.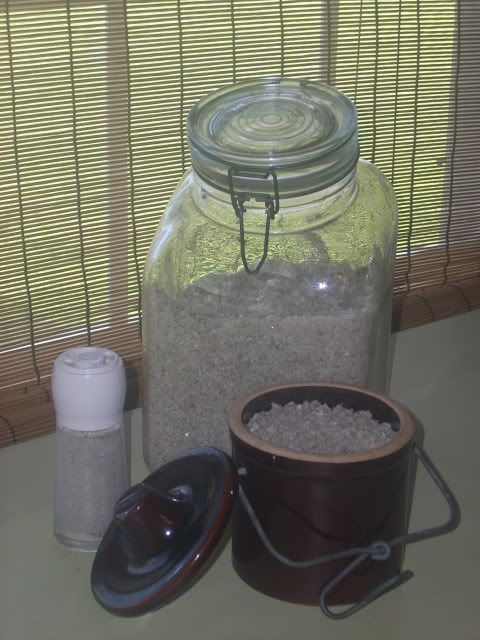
And here's that wonderful jar of salt.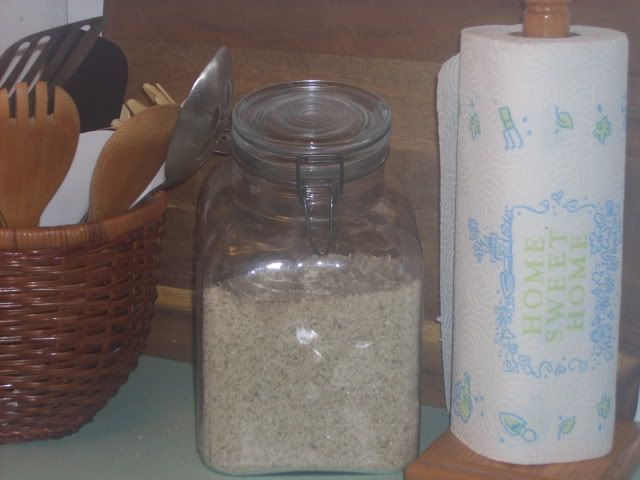
WR
I read labels. Yep, I'm one of "those people". Ya' know, the ones you see in the grocery store, with a baby in the cart chewing on the handlebar, two other kids blocking the aisle by chasing each other around in circles screaming "I'm gonna to tickle you!", while she's distracted staring at the labels on the sour cream containers so she can find the one that just says, "Cream, Cultures".
We have been on the path to a healthier way of eating for a while now. And, even though we still aren't where we'd like to be, I thought I'd let you in on our plan to get there.
First, you have to understand that we believe the best food is real food. Real food may not be what you are used to thinking about when you think of health food. But nutrition is all about nutrients. We, as a society, seem to have lost sight of this very important fact.
We all know, at least superficially, that good health is dependent upon "good nutrition". But what that really means, is that your body relies on a steady supply of a wide variety of nutrients in order to properly function and repair itself. And the best place to get these nutrients, is from food. Specifically, nutrient-dense, real foods. Problem is, most of the food we eat here in the USA, especially the "health" foods, are either mostly devoid of usable nutrients, are "fortified" with a few synthetic nutrients that your body doesn't know what to do with, or they all contain the same few nutrients over and over again.
So, the goal we are moving toward, is to make every bite count by getting rid of the empty-calorie, processed junk and eating nutrient-dense, real foods.
These are the kinds of things we eat at our house:
These are the things we normally try to avoid, or are working toward eliminating from our diet:
The veggies we eat are organic about 95% of the time, or they come from our garden.
We don't eat very much rice or pasta (pasta is basically just empty calories), but we do eat quite a bit of bread. I don't make our bread (SweetPea would like to learn how, though), but we buy only whole wheat bread with no high fructose corn syrup (HFCS) or hydrogenated oils.
When we can, we travel about 1 1/2 to 2 hours (one way) to buy organically raised, grass-fed beef, beef liver, beef bones, and pork. But that's not as often as we would like because it is a long, expensive trip. The bones are for making beef broth/stock --a very healthy, nutrient-rich food.
The milk we drink is real milk, and we would like for more of our dairy products to be raw and organic.
We usually buy eggs that come from pastured or free-range hens. As for chicken meat, buying pastured chickens is just too expensive for us right now, so we would like to start raising our own chickens for meat and eggs. We've had a few laying hens in the past so that's no biggy. But we would have to learn how to "process" [slaughter & clean] chickens at home if we didn't want a meat locker telling us which parts of our own chickens we would be allowed to keep after they'd processed them. (They usually don't let you keep the feet, heads, etc. because they can sell these to ethnic markets and exporters.)
We want to do more wild harvesting of fruit, berries, and nuts, grow our own fruit trees and berry bushes (we have some planted but they're not producing, yet), and get our mature pecan trees to produce better. But even if they don't, with a little planning, we should be able to pick up all the pecans we want from some local trees we know about.
We need to eat a wider variety of meat --like lamb, game birds, more fish, and venison. The venison shouldn't be hard to find, here in the Southeast. But you pretty much have to be a hunter to get game birds inexpensively. And lamb may be a pipe dream, unless we raise our own. And though we do have the land to raise at least one lamb or miniature cow, none of us are familiar with animal husbandry so that's kind of a scary thought. LOL!
And I'm looking forward to adding tallow, schmaltz, and lard our list of cooking fats, but we haven't found affordable organic sources for them yet. I plan to ask the butcher about beef and pork fat the next time we make the trip. If I can get the raw fat from him then I will render it to make tallow and lard. To learn more about why we would include these supposedly unhealthy fats, click HERE.
The sweeteners we use are honey, maple syrup, molasses, stevia, and occasionally one of the varieties of unrefined sugar. Unrefined sugar isn't completely unrefined, it's just sugar that has not had all the molasses and nutrients removed in order to make it white and give it a more neutral flavor. It resembles brown sugar, but conventional brown sugar is just white sugar with some things added back in to make it brown and flavorful - it doesn't have the nutrients of the cane juice that it came from.
Another thing we need to eat more of is fermented and cultured foods. I used to make kombucha but I ruined the SCOBY's. Just recently, an OLF volunteered to send me some of her spares. So as soon as they arrive, I'll be in the 'bucha making bidness again!
We do eat organic, whole milk yogurt with live cultures, and I make kefir. I use the kefir in just about anything that I would use buttermilk in. But other than Pickle and myself, no one else in the family will drink it straight. Although, Rooster and SweetPea do get some in an occasional smoothie. So, I ought to get my act together and make some sauerkraut, more beet kvass, and try some of the recipes I have for fermented condiments and "pickled" veggies.
Now I must admit that during our yeast cleanse, things have been different. We buy stuff I would never normally buy, because it is "legal" on the diet, convenient, and keeps us all from feeling deprived. Also, Bull "has to have" sodas (I find myself craving them, too). So he brings home at least one 2 liter just about every weekend and we all partake. Usually he'll only bring home sodas that are made with sugar instead of HFCS. During the candida cleanse it has been only sodas sweetened with Splenda (which is one of those things I would normally avoid like the plague).
I know that some of the things I've talked about, need some 'splanin' but that will have to wait 'til another day and another post. I just wanted to get started on this topic and so this post is the first but not the last time I will talk about what I'm learning and trying to put into practice concerning real food and nutrition.
WR
Probiotics are a must, while on a Candida cleanse. You have to replace the Candida that you're killing off, with something that will compete against what remains and keep it at bay. Otherwise it will just keep growing back. I bought some probiotic supplements but I also make my own in the form of.... KEFIR!
Kefir is an odd word (but then, kefir is an odd beverage so it's only fitting). It doesn't follow English phonic rules. Of course, it's not an English word, so why should it?
When we try to apply our phonic rules to the word kefir we come up with kē'-fûr or KEE-fur. LOL! That sounds so funny to me! I'm a Southern gal, so I know what it's like to be laughed at for how you talk.... but, KEE-fur coming out of the mouths of otherwise very dignified folks, never fails to make me smirk. I sounds like a nickname I would have come up with in jr. high if I'd had any friends named Keith. "Hey! Keith... Keif-FEE... KEE-fur, meh man!"
But I've heard the correct pronunciation from a Russian acquaintance (also from recordings online) and apparently, it's pronounced with a short e and a short i sound, kě-fĭr' or keh-FEAR, with the emphasis on the second syllable. It sounds sort of mysterious and foreign, but pleasant. Not at all like an annoying nickname. LOL!
Well, enough of that...
Now, on to the kefir grains!
Beware: what you are about to see are kefir grains in their naked state... au naturel... nothin' on but a milk coat. Don't be afraid, they are harmless (and it is only a picture). In fact these ugly little fellows might become your best budd's. Some folks become very attached to their grains. I used to call mine Freddy, Fred, and Ed, but then they kept multiplying, so now I just call them The Bumpy Boys.
And these are they, er, them, er.... Here they are!


Fried chicken and mashed potatoes just go together. And if you have any leftover, this is what you can do with them (Granny Trudy showed me this). It's so simple --this will be a short post.
If you have fried chicken strips, then just cut them into bite-sized pieces. If you have bone-in fried chicken, then pull it off the bone, trying to keep as much breading intact as you can (I also pull the crispy breading off the bones and add that to the meat). Then, cut it into bite-sized pieces. Set aside.
Put about 3 TBSP of butter in a skillet on medium heat. After butter melts, add 2 TBSP flour. [These measurements will depend on how much chicken you have.] Mix it together and let it cook for a minute. Stir in milk and/or chicken stock, depending on what you have. Keep stirring 'til smooth but don't let it start thickening yet. Add the chicken and gently stir 'til the gravy is thickened and chicken is warmed thru. Season to taste. Spoon over warmed mashed potatoes.
WR

I just wanted to brag on my Princess (SweetPea). She is learning to cook and one of the things we are doing is reading a book called The Mary Frances Cook Book, written by Jane Eayre Fryer in 1912. The author wrote several books about the Mary Frances character that were aimed at teaching children different skills. So, of course the cookbook is about learning to cook. You can read it online at http://digital.lib.msu.edu/projects/cookbooks/html/books/book_64.cfm
Here is one of the recipes, from that book, that SweetPea made...
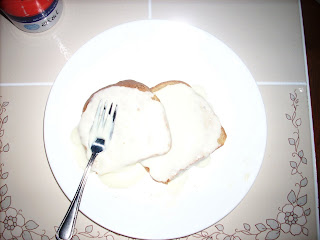
And there was enough left for me to enjoy Creamed Eggs!

It's yet another idea I got from my online friend, HB. It basically consists of milk toast with chopped, boiled eggs in it. Very good. I really enjoy it and have it for breakfast pretty often (and sometimes for lunch).
WR
Hi Ms. Rose!
Sis told me you'd be popping in for some recipes so I thought I should post some.
Three Cheese Chicken Enchiladas
These are THE BEST!!! I got the recipe from Steph's Country Kitchen Goodness back before she bought into the "low fat is healthy" garbage and changed a lot of her recipes. But that's a rant for another day. LOL! These are soooo yummy!
1/3 cup olive oil
12 (6-inch) corn tortillas (preferably yellow corn tortillas, but white corn will do)
2 (10 oz) cans red enchilada sauce
3 ounces cream cheese
3/4 cup sour cream
1/4 tsp. salt
1/4 to 1/2 tsp. ground cumin
1/4 tsp. pepper
2 or 3 chicken breasts, cooked and shredded
2 cups shredded Monterey Jack cheese, divided
1 cup shredded Cheddar cheese
1/4 cup chopped green onions
1. Heat oven to 350°.
2. In 8-inch skillet, heat oil over medium heat until hot. With tongs, dip each tortilla in hot oil, turning quickly to soften, about 3 seconds; set aside.
3. In large bowl, stir together cream cheese and sour cream until smooth. Stir in salt, cumin and pepper. Stir in chicken, 1 cup Monterey Jack cheese, Cheddar cheese and green onions.
4. Pour enchilada sauce in shallow dish (pie plate works well). Dip tortillas in enchilada sauce to lightly coat. Place chicken mixture in tortilla; roll. Place tortillas, seam side down, in a lightly greased 13x9-inch baking dish. Cover with remaining enchilada sauce.
5. Bake for 25 minutes. Sprinkle remaining Monterey Jack cheese over enchiladas and bake 3 minutes longer. Garnish with sour cream and/or guacamole, if desired.
 Boil some chicken and reserve the broth. Separate the meat from the bones, and pull the meat up into bite-sized pieces. Set aside half the chicken meat. Next, add the egg drop soup to the reserved broth.
I made this for the whole family a while back, and even the coconut-haters liked it.
Pineapple Coconut Pie
Mix sugar, four and coconut. Lightly beat eggs; stir in pineapple, then coconut mixture. Add butter and mix well. Pour into crust and bake at 350º for 30 minutes. Sprinkle more coconut on top and back in the oven it goes, 'til the coconut is toasted.
WR
When I was growing up, the best part of going to McDonald's was the fried apple pies! I was very disappointed when they switched to the baked ones they sell these days.
Well, an online friend turned me onto a homemade version [thanks HB!] and I cooked some up the other day. It's still not quite the same but it's as close as you're likely to get at home.
I bought some egg roll wrappers and apples in the organic section of the grocery store (the wrappers aren't organic, but are "all natural"). I chose Red Delicious apples, instead of a more traditional baking apple, because.... well, because they were cheaper. ;o)
Normally I would have peeled and sliced the apples, put them in a pot with a little honey, cinnamon, and lemon juice, and then cooked them down a little to make a pie filling. But because Red Delicious apples are not very firm, I decided not to cook them and simply tossed the slices in some lemon juice and cinnamon, then sprinkled a little sugar over them to pull out some moisture. I let them sit for a while and stirred them every once in a while to help with the "cooking" the sugar was doing.
Meanwhile, I pulled out the egg roll wrappers and filled a small baby food jar with water. I put some coconut oil in a pan and put it on med-high heat.
The next step was to assemble and fry! With my finger, I ran some water all around the edge of a wrapper and a line down the middle. Then placed a spoonful of apple filling on one half of the wrapper, folded the other half over it, and crimped all the way around with a fork. Poked a hole in the top of the pie (so it won't explode!) and deep fried it in the hot oil, turning once.
When it reached the golden brown and delicious stage on both sides, I took it out and let it drain on a paper towel (or you can do what my mom always did and drain on a brown paper bag).
That's it! Yummy!
WR
When I make chili I usually try to stretch it out over two or three meals. I start by getting out my favorite "No Beans", tomato-based chili recipe. Not that I follow it, but it is nice to have a frame of reference.
Then I make the chili but I leave out the tomatoes... well most of the tomatoes. I do add tomato paste or a small can of tomato sauce. And even though this leaves me with a lot less total mass in the pot, I still add the full measure of seasonings (and sometimes more). I also use beef broth to keep it loose enough to not stick and burn. What I end up with is a concentrated chili flavored meat mixture (chili starter).
Then I divide it up according to how many meals I have planned for it.
Some ideas are:
WR